Wallet Setup
To get started as a participant in the ecosystem you need to take control over your private key(s) and insert it(them) in a wallet. The wallet allows you to perform interactions, such a signing and submitting transactions.
You will either use your private SECP256K1 keys you have created yourself OR use a set of SECP256K1 keys we created for you during guided onboarding (shared keys).
Your private key SECP256K1 will look like this (just an example):
- do not use! 0d9619d1702c7a4ff89ecf3720132812f0d124ca503a61c5f3a60e0451236365 do not use!
Some important notes before you continue:
- This private key controls your identity in the ecosystem, create a secure offline backup.
- Do not share it with anybody outside your organization , don't store it in the cloud.
- If you received the key during guided onboarding and it is shared with us: We also have control over this private key for testing and to assist you during your first steps in the ecosystem so do not use it in any production system under any circumstances.
- If you lose control over your private key please inform us immediately so that the Pontus-X federators can blacklist it for the network.
- You are not allowed to store any personal information on the network , i.e., names, or e-mail addresses when publishing own service offerings on the network.
In this ecosystem we use a Web3 wallet for interactions. Best for starters is MetaMask as browser extension. It allows you to sign transactions and test contracts with other ecosystem participants.
MetaMask is a widely used Web3 browser and mobile wallet solution to store your keys and sign transactions with more than 10 million monthly active users (MAU) that is considered a secure "hot" wallet. There are also other open-source Web3 wallets available, but for this guide we continue with MetaMask.
Step 1: Install MetaMask and setup a personal password for the wallet
You can just follow the instructions here https://metamask.io/download/
Step 2: Importing Accounts (if you want to import a keypair)
If you have set up your local MetaMask in your browser (Chromium-based or Firefox) and secured it with a password, you can import the private key we shared with you through the "import account" feature.
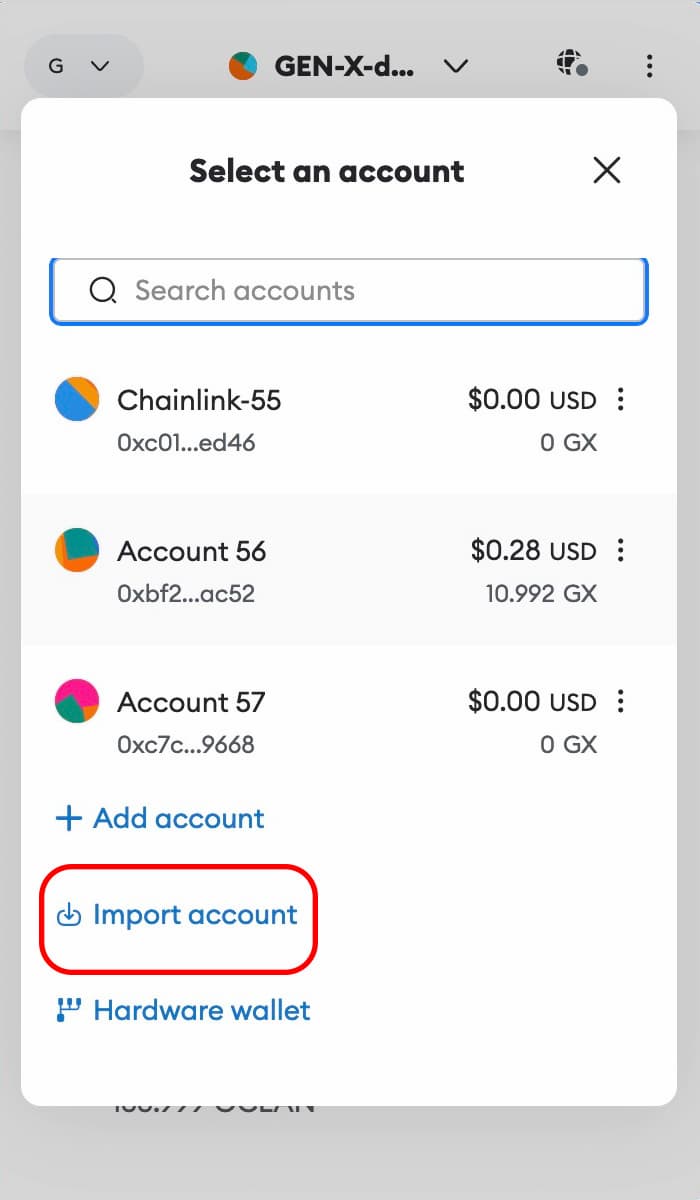
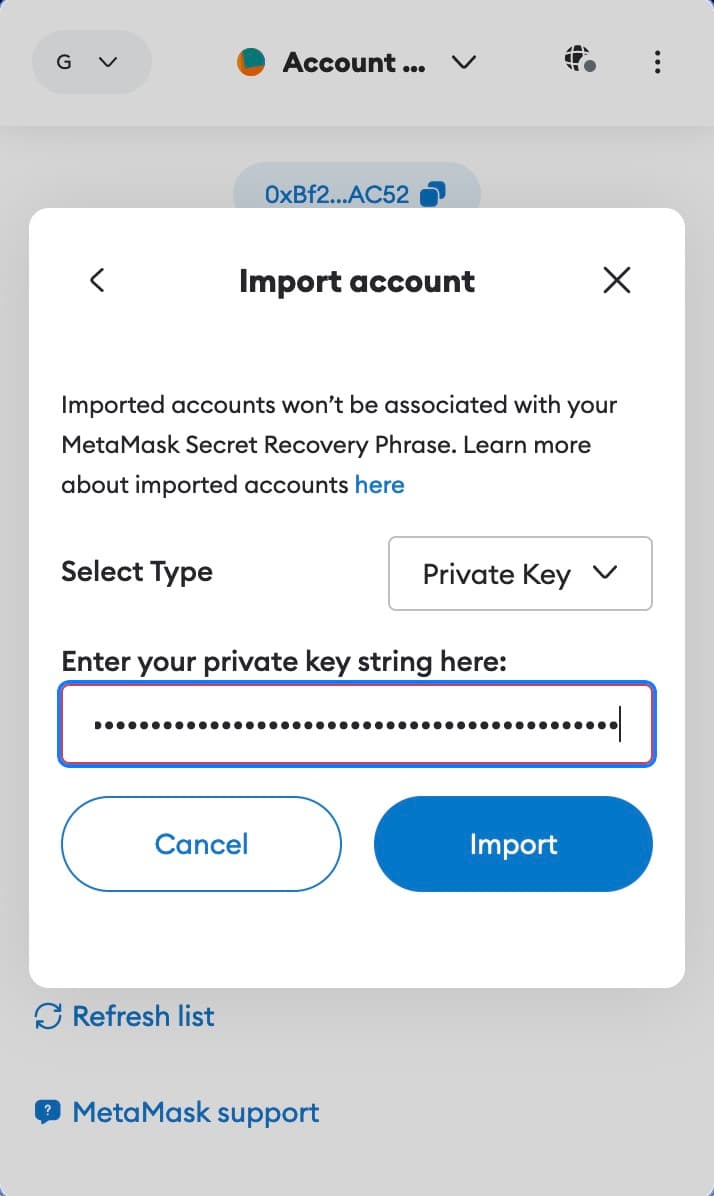
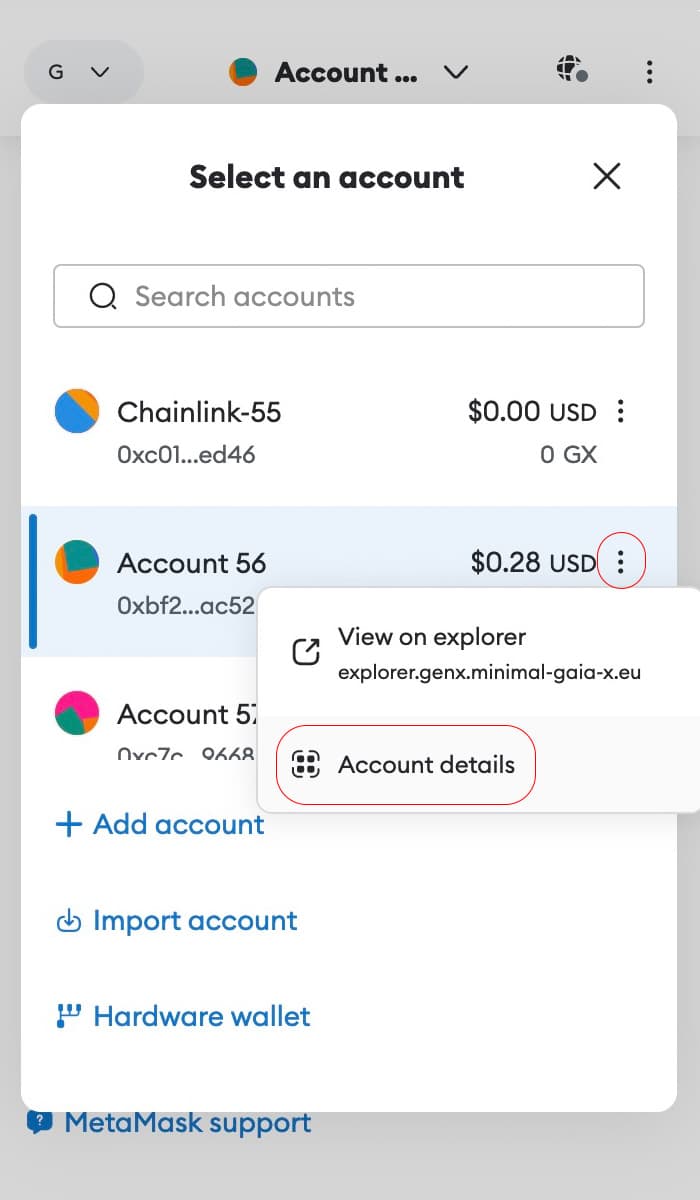
Once you have imported the account, you can select it through the icon in the upper right corner. You can give the account a custom name instead of "Account 2" by opening the menu indicated with the three dots and opening "Account details"
You can give the account a custom name instead of "Account 2" by opening the menu indicated with the three dots and opening "Account details"
When you click the pen icon you can add a custom name for this account.
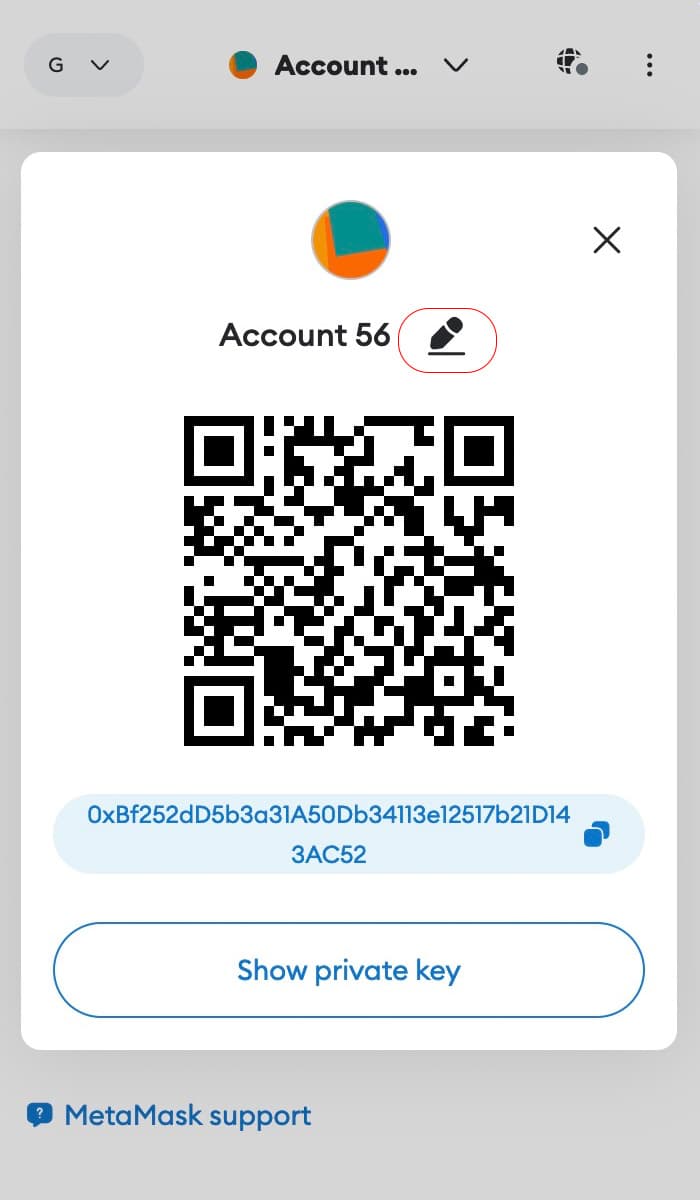
You will be able to confirm your selected account by checking the public address of this account matching the public address in your participant credential. Simply press the middle field displaying the address and it will be copied to your clipboard.
Step 3: Connecting to the right network
Furthermore, you need to select the right network "Pontus-X testnet" by selecting it from the network field at the top of the wallet. You can add the Pontus-X test network manually under "settings" and "networks". For this route you need to following network configuration:
- Network name: Pontus-X Testnet
- New RPC URL: https://rpc.test.pontus-x.eu
- Chain ID: 32457
- Currency Symbol: EURAU (fee)
- Block Explorer URL: https://explorer.pontus-x.eu/pontusx/test
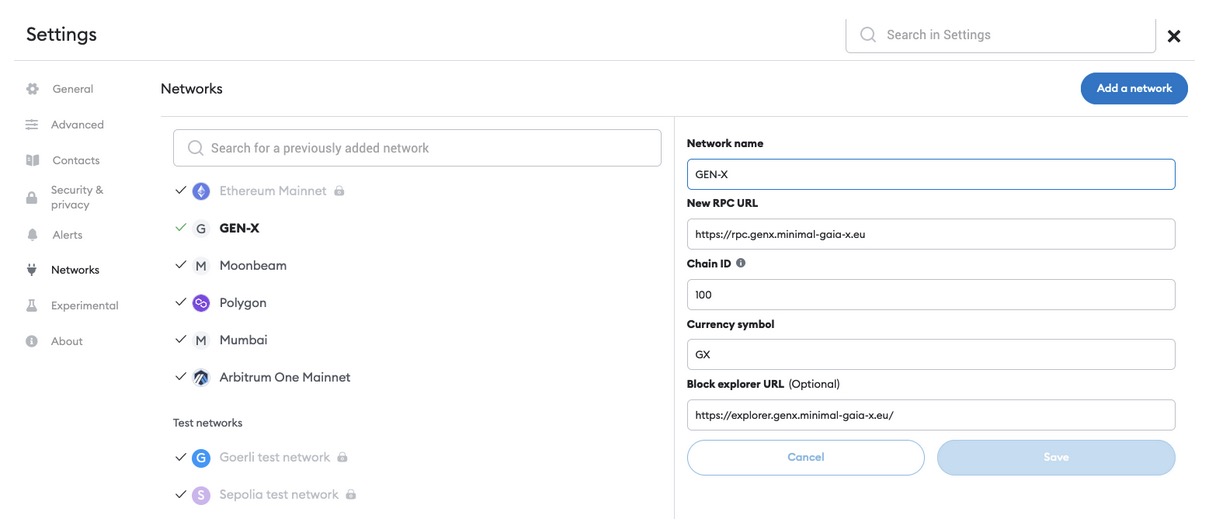
Once you have added the network, selected the right network and address, and connected to the portal you can refresh the website and you will appear as logged in. When connecting for the very first time MetaMask will ask for permission to connect to a Portal which you should accept. You can use the https://v4.minimal-gaia-x.eu/ Portal as example or any other portal.
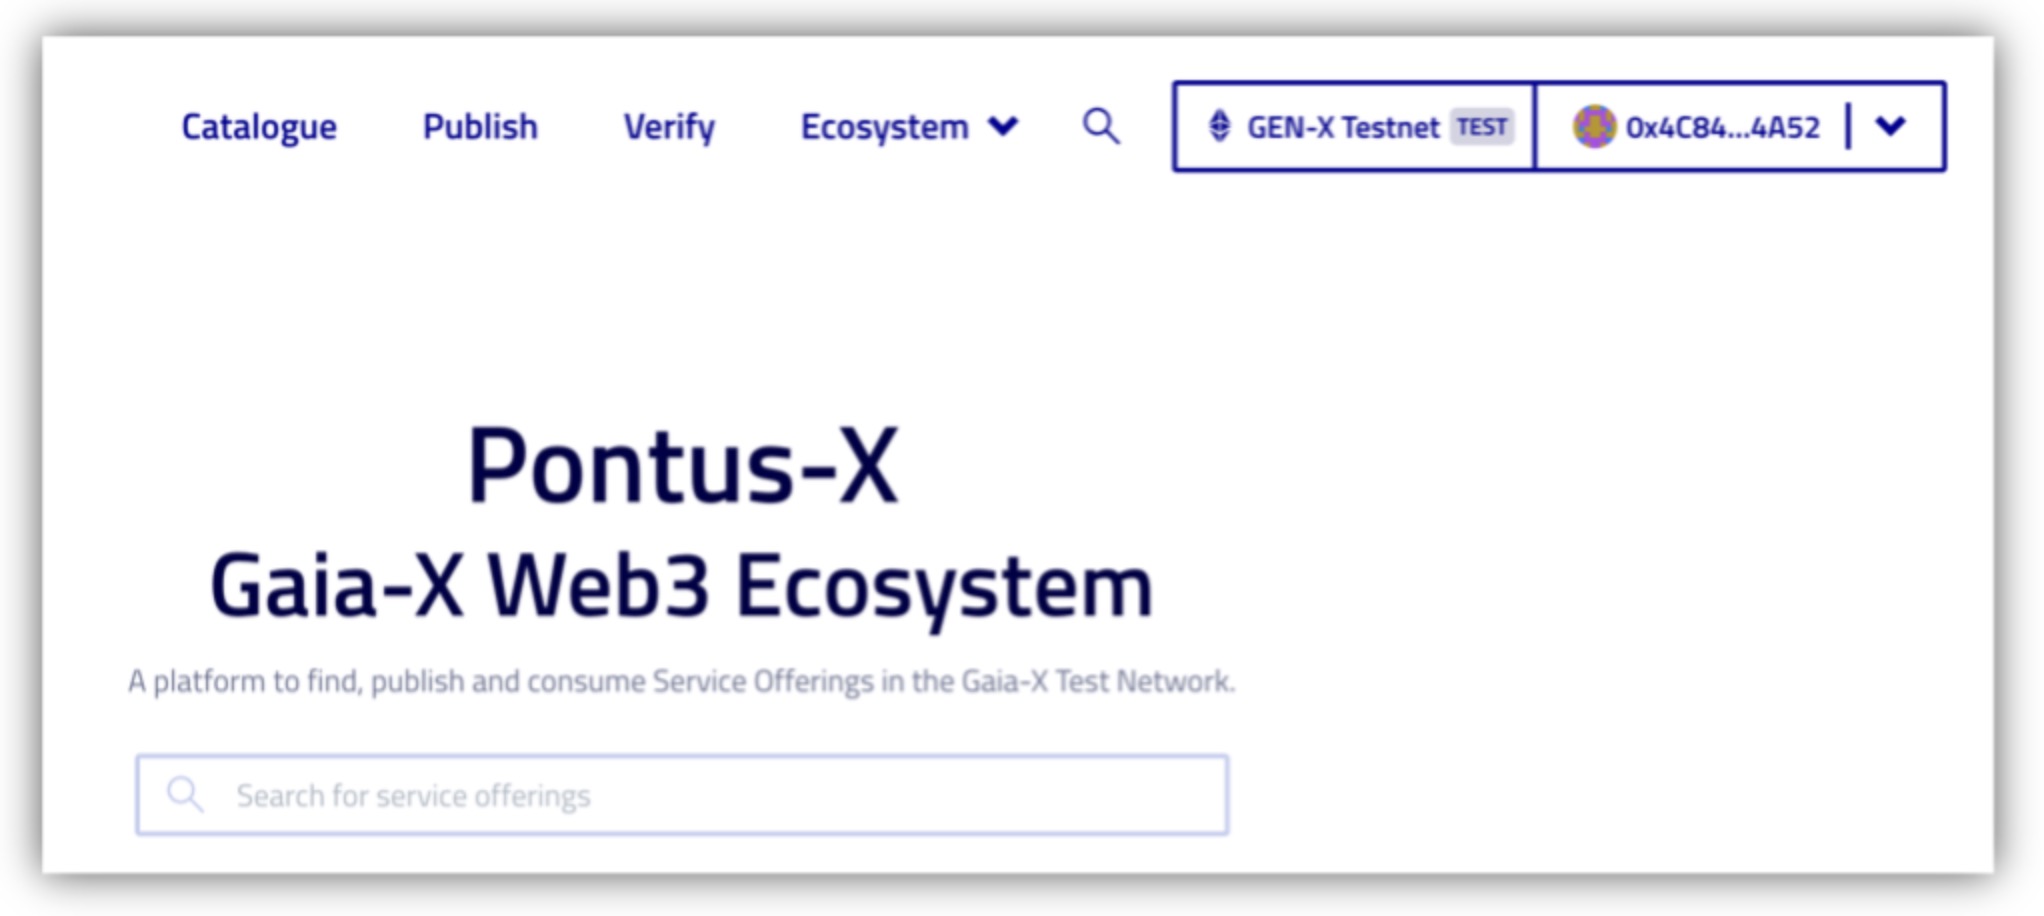
First indicator of success is the portal showing your public address and Pontus-X Testnet selection now.
The wallet will also indicate this with a green dot.
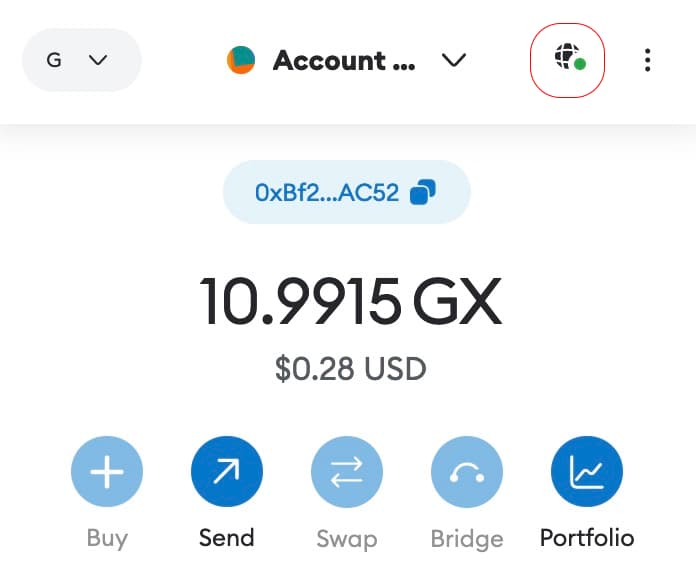
Well done, the setup is completed.
Step 4: Funding your wallet
Your public address will be associated with a public balance of ERC20 tokens that are used to pay for transaction fees, settlement in the network and managing access to services.
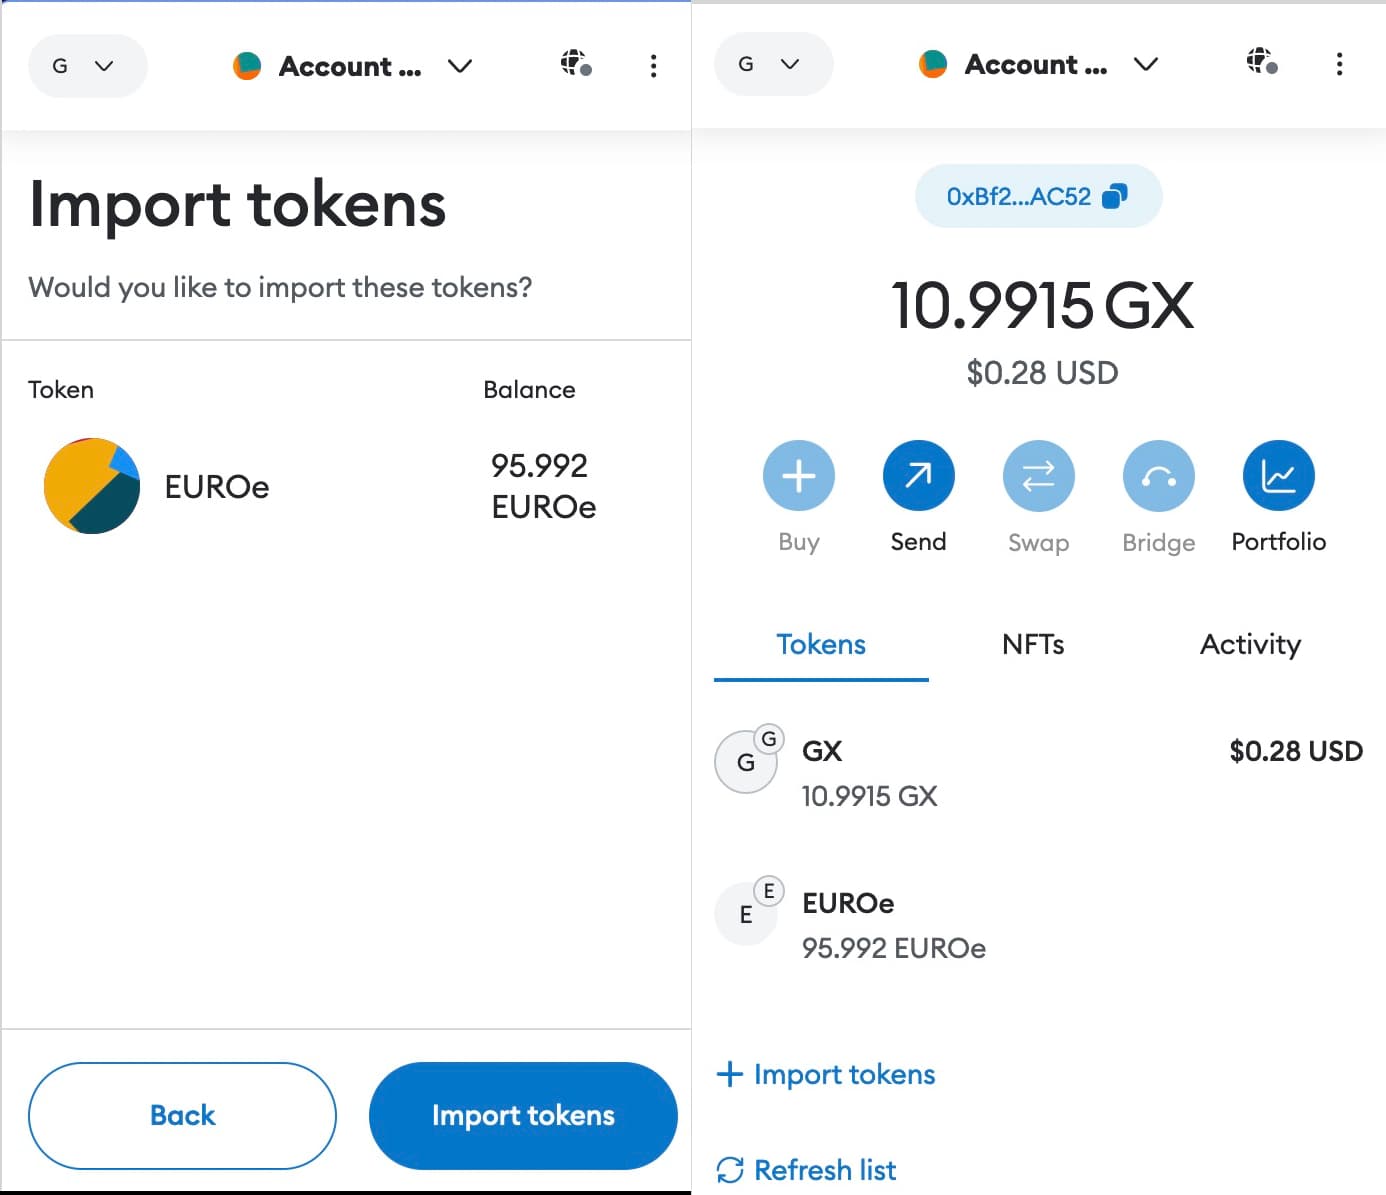
If you have completed the onboarding with us and have been accepted in the ecosystem you will have received an initial balance of ERC20 tokens and the balance will be shown in your MetaMask wallet.
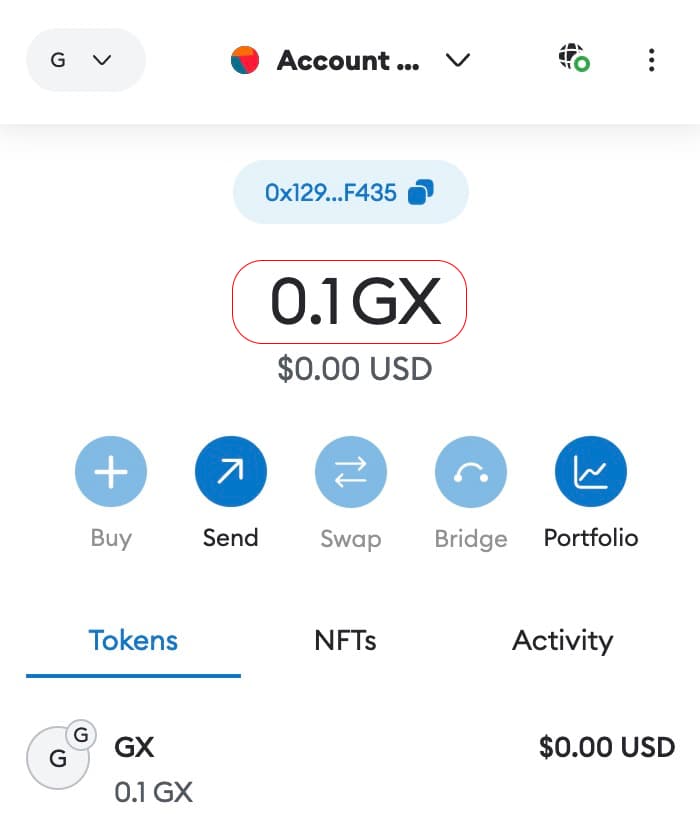
You should now see some EURAU ERC20 tokens in your wallet. 0.1 EURAU enough for many of transactions in the network. If you don't see a balance here please check your network connection, if you have selected Pontus-X Testnet as network and if you selected the right public address.
Other ERC20 tokens besides the basic fee token are not visible by default and you will need to add them manually. You can do so through the portal frontend under your profile section.
Just open the top right menu and click "add EURAU" (0xE158265FD2be5BCc208621f2c0f8AfCF11aC8408) to make the corresponding smart contracts known to MetaMask and to query to balances from the network.
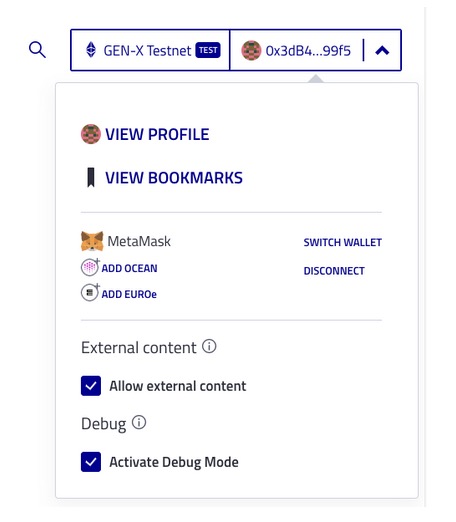
Once you confirm the dialogue the balance will appear in your wallet.
